 Here is a fun project that even adults have enjoyed making. Become a daffodil hybridizer! The form and color combinations are endless.
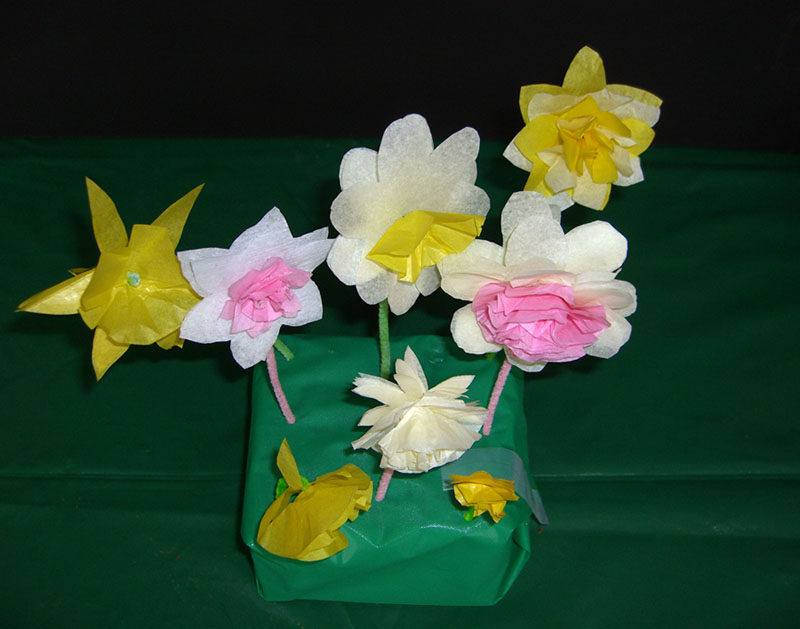
The instructions to make a lovely vase of tissue daffodils are below or download this PDF, Tissue Daffodil Project
You will need:
- pipe cleaners (1 per flower)—look for packets of all green ones
- tissue paper in daffodil colors: white, yellow, pink, orange and red
- felt tip markers (optional)—to color rims and eyes: yellow, pink, orange, red and green
- patterns
- pen or pencil
- scissors
Steps to make:
- Cut out patterns Tissue Daffodil Patterns
- Fold tissue paper to cut several layers at once. (Two layers of each flower part make a nice thick flower.)
- Trace the patterns onto the tissue paper.
- Cut out the tissue paper shapes.
- Fold over the tip end of a pipe cleaner.
- Poke the other end of the pipe cleaner through the center of your two layers of cup shapes.
- Next poke it through the center of your two layers of petal shapes.
- Gently slide all the tissue paper layers all the way to the folded end of the pipe cleaner.
To make your flower look more realistic:
- Crease each petal from its tip to the center of the flower.
- Scrunch the entire flower into a flower bud shape, then smooth it open again.
- Bend the pipe cleaner stem to a 90 ° angle about ½” behind the flower.
To add more detail:
- Scrunch the cup more to make it look ruffled.
- Add extra layers of tissue paper to make double daffodils. Separate and slightly rotate each layer for added fullness.
- Use markers to make a colorful rim on the outer edges of the cup or a green “eye” to the center of the cup.
- Add “pollen” by twisting a bit of yellow tissue paper onto the folded end of the pipe cleaner.